At ExpoCart, we know the importance of pop-up stands for businesses who need to promote on location. This is why we have designed a huge range of options in all sizes and shapes, all of which you can find right here.
But setting up a pop-up stand at a business venue can’t really be as easy as we say, right?
Here, we take you through exactly how to set up a pop-up exhibition stand to show you how easy, quick and painless it can be to create a high impact space no matter what the location.

Pull the concertina frame out of the carry bag, ensuring you have lots of space to extend it into its full size. Carefully, extend the frame out and rest on the floor, making sure it’s fully secure. When it is at full size, make sure the frame clicks into place, making it steady and secure on the ground. You also need to ensure that the coloured hooks on the frame are always at the top of the structure once it’s fully expanded.

Next, remove the magnetic strips from your carry bag. Snap into place on the framework, which adds strength to each section of the frame as well as being the all-important addition you need to next add your graphics. Make sure you add the magnets to the back corners of the frame as well to ensure your graphics can be curved and secured around the structure.
Your structure is now complete and in place, ready for your graphics to be added with care.

Next, you need to add your graphics. Start at the left-hand side of your framework and firstly, add the corner graphic to completely cover the structure when seen from the side of the pop-up stand. Take each panel of graphics and carefully add them from left to right, starting at the top and ensuring a clean and smooth join. Lastly, attach your right corner, using the same technique as the initial left edge.

If you have lighting for your stand, this comes next. Remove carefully from your bag and position them overhanging the top of the stand by securing them between the cross sections of the framework at the back of the stand. Adjust the positioning of the light to suit your unique pop-up display stand, shining exactly where you’d like to highlight.

Want to see how to set up a pop up display in action? Then check out our helpful video below:
Complete your exhibition stand with anything from promotional counters and plinths to iPad stands and touch screen monitors to really make the most of your space. Once you’ve added everything from your own unique exhibition package, you’re ready to show off your business to all your new potential customers.
Create your own pop-up display stand on ExpoCart and if you’re struggling with your design, take a look at our top tips on designing the perfect display stand for some expert advice.
But setting up a pop-up stand at a business venue can’t really be as easy as we say, right?
Here, we take you through exactly how to set up a pop-up exhibition stand to show you how easy, quick and painless it can be to create a high impact space no matter what the location.
Step 1
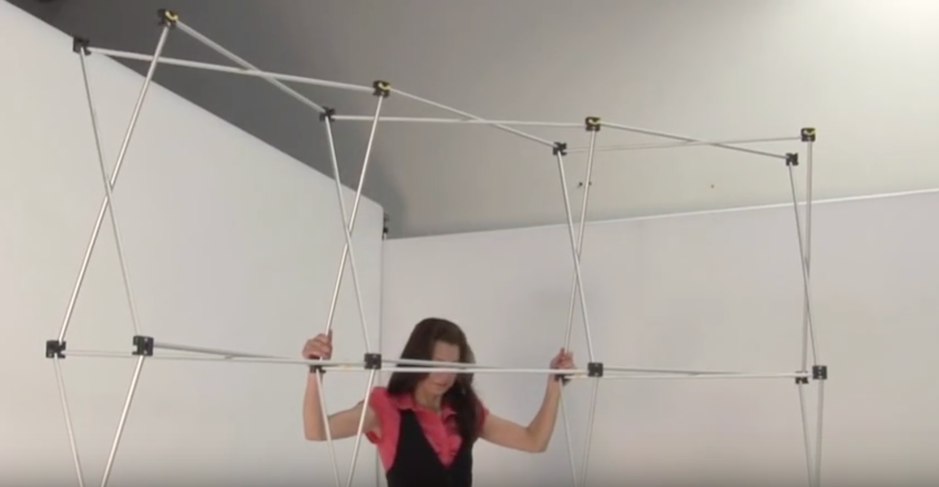
Opening the frame of a pop up display
Pull the concertina frame out of the carry bag, ensuring you have lots of space to extend it into its full size. Carefully, extend the frame out and rest on the floor, making sure it’s fully secure. When it is at full size, make sure the frame clicks into place, making it steady and secure on the ground. You also need to ensure that the coloured hooks on the frame are always at the top of the structure once it’s fully expanded.
Step 2
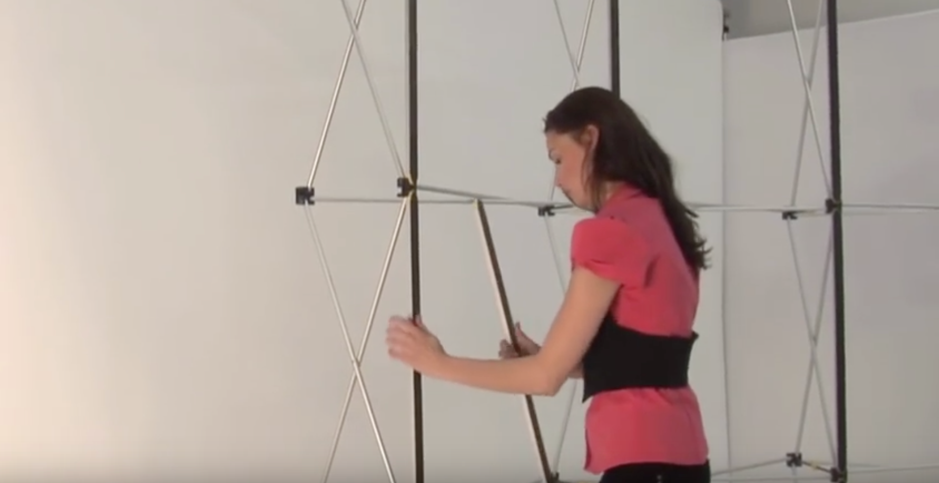
Putting together the frame of a pop up display
Next, remove the magnetic strips from your carry bag. Snap into place on the framework, which adds strength to each section of the frame as well as being the all-important addition you need to next add your graphics. Make sure you add the magnets to the back corners of the frame as well to ensure your graphics can be curved and secured around the structure.
Your structure is now complete and in place, ready for your graphics to be added with care.
Step 3
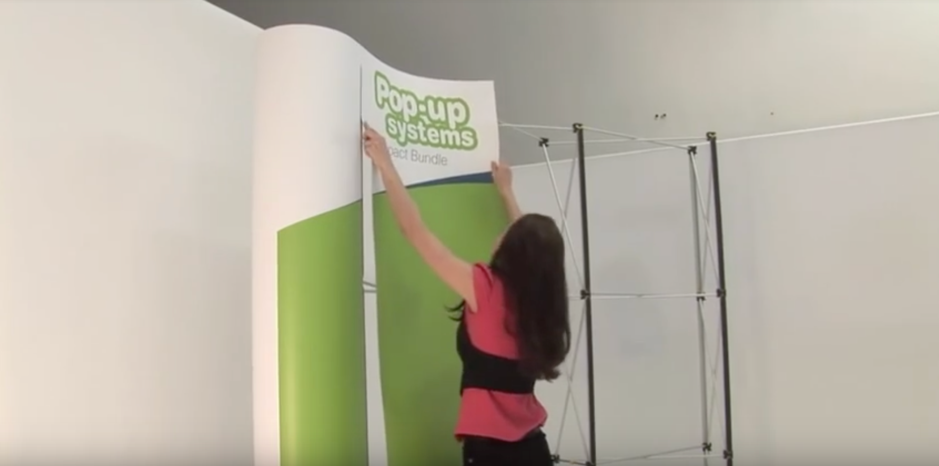
Applying graphics to the pop up stand
Next, you need to add your graphics. Start at the left-hand side of your framework and firstly, add the corner graphic to completely cover the structure when seen from the side of the pop-up stand. Take each panel of graphics and carefully add them from left to right, starting at the top and ensuring a clean and smooth join. Lastly, attach your right corner, using the same technique as the initial left edge.
Step 4
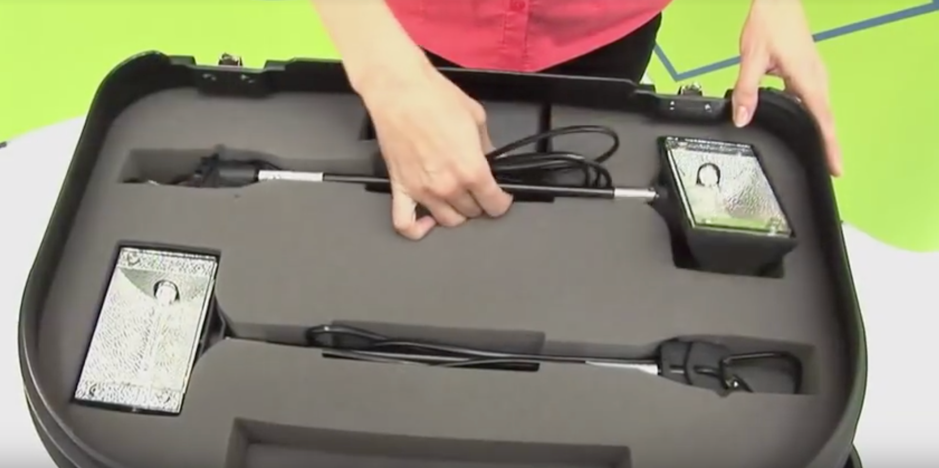
Pop Up Display LED Lights
If you have lighting for your stand, this comes next. Remove carefully from your bag and position them overhanging the top of the stand by securing them between the cross sections of the framework at the back of the stand. Adjust the positioning of the light to suit your unique pop-up display stand, shining exactly where you’d like to highlight.
Step 5
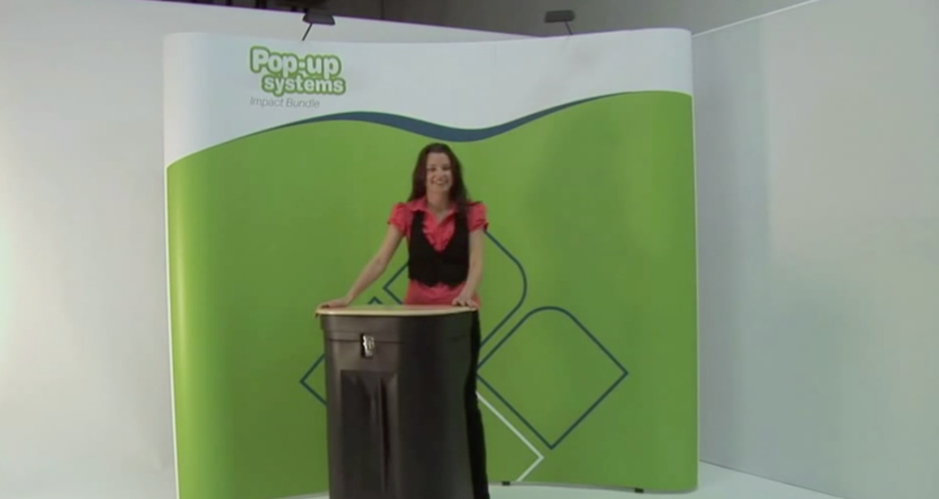
Your finished pop up exhibition stand
Want to see how to set up a pop up display in action? Then check out our helpful video below:
Complete your exhibition stand with anything from promotional counters and plinths to iPad stands and touch screen monitors to really make the most of your space. Once you’ve added everything from your own unique exhibition package, you’re ready to show off your business to all your new potential customers.
Create your own pop-up display stand on ExpoCart and if you’re struggling with your design, take a look at our top tips on designing the perfect display stand for some expert advice.